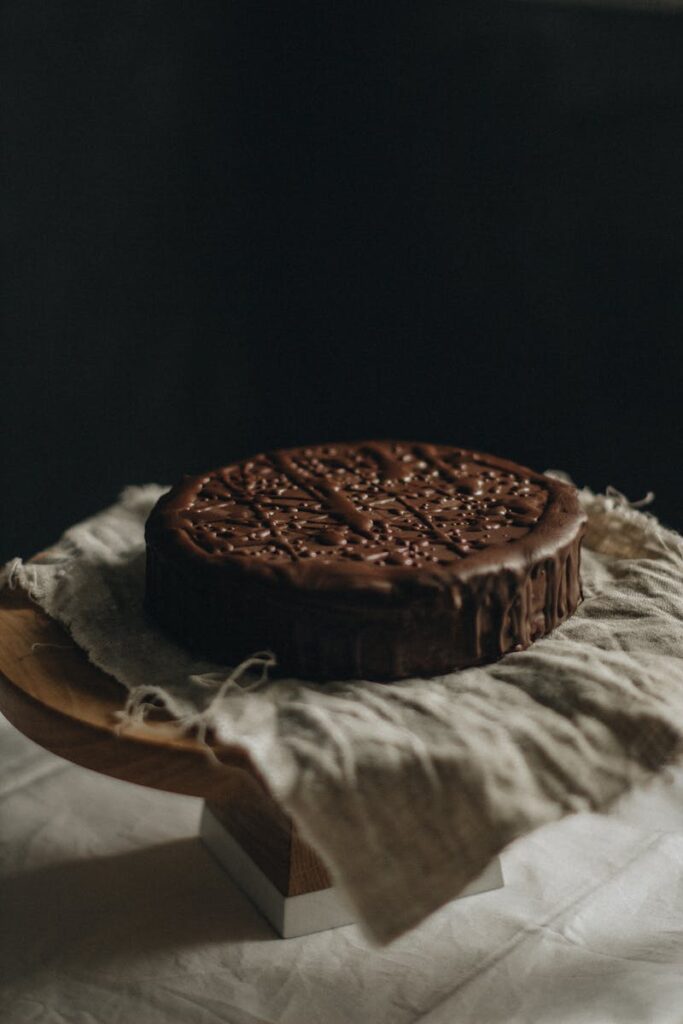
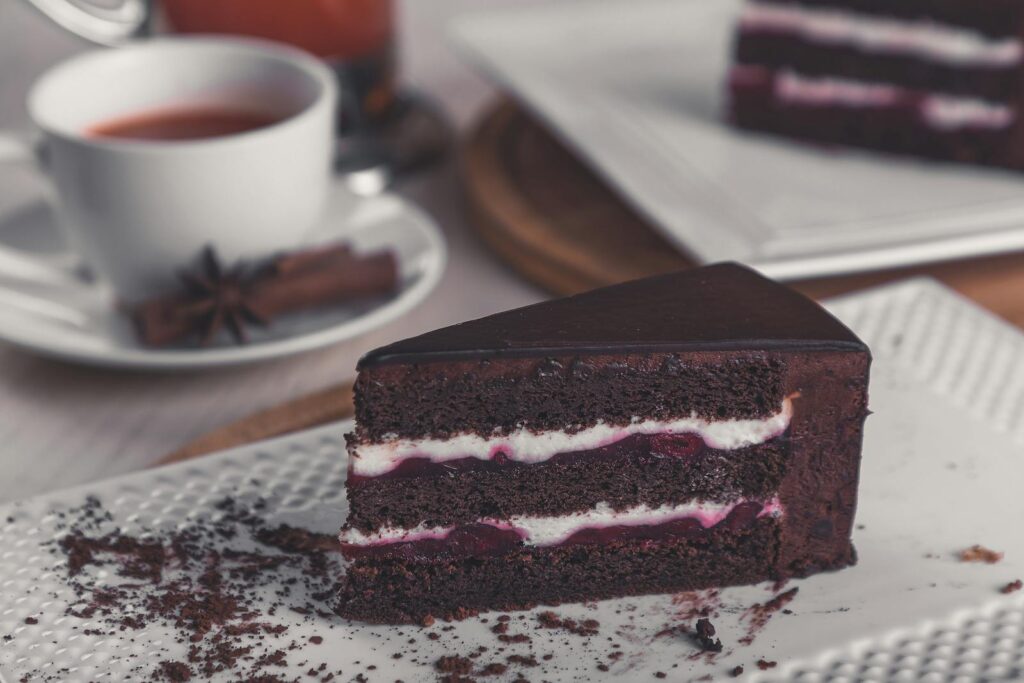
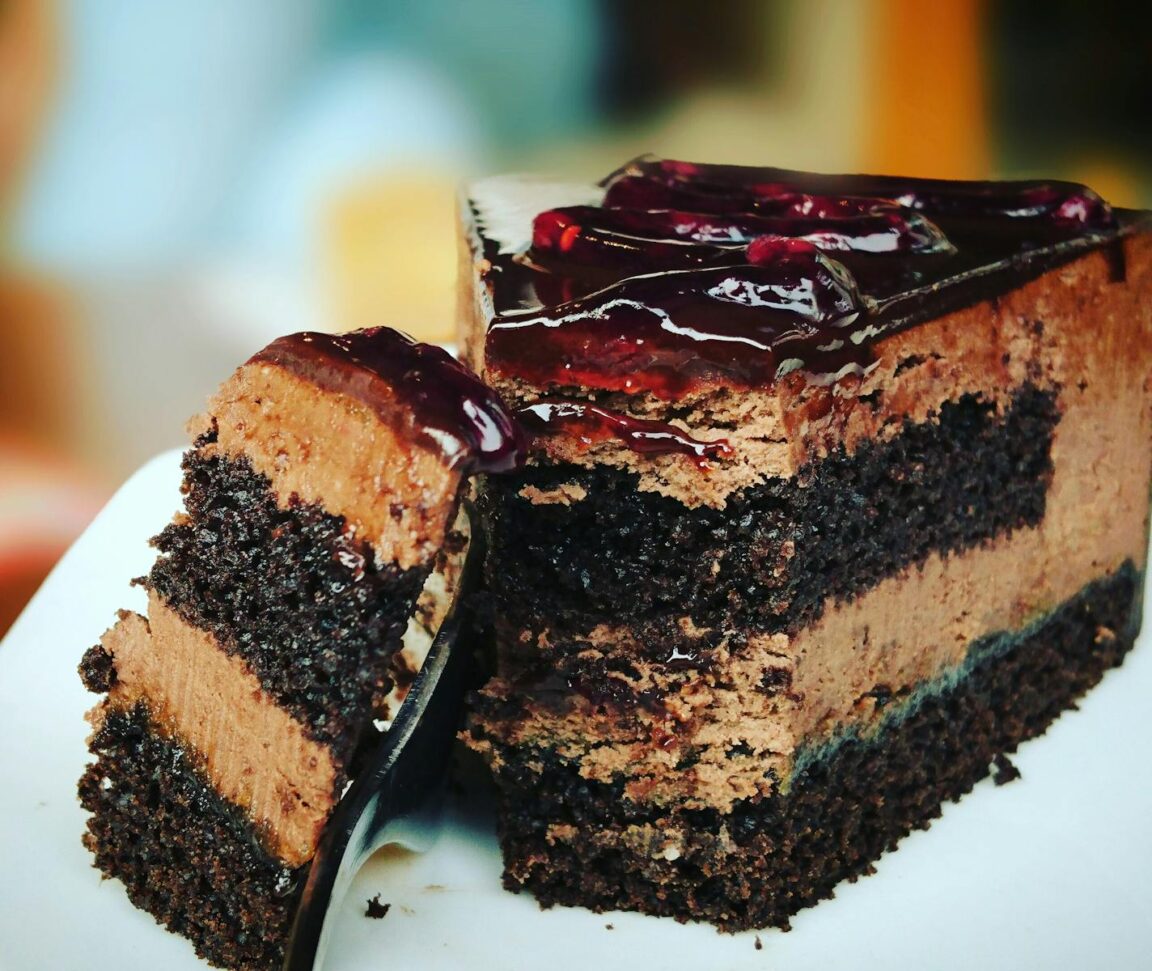
Indulging in a slice of chocolate cake is not just a treat for the taste buds, but an experience that can elevate any mood and occasion. If you’re a food enthusiast, a home baker looking for a failsafe recipe to impress, or simply a lover of all things dessert, this comprehensive guide to baking the perfect chocolate cake is for you.
Chocolate Cake Recipe
Whether you aim to master a classic chocolate cake or are in search of a delectable vegan or gluten-free adaptation, we’ve got you covered. Our step-by-step recipe ensures that your homemade chocolate cake will be moist, rich, and downright irresistible. Before you preheat the oven and dust off your mixing bowls, gear up with this thorough guide crafted to make your chocolate cake the star of the show.
Decoding the Ingredients
For a perfect chocolate cake, the importance of precise ingredient measurement and quality cannot be overstated. Here’s the rundown of what you’ll need:
The Dry Components
- 2 cups all-purpose flour
The backbone of your cake’s structure.
- ¾ cup unsweetened cocoa powder
The star of the show which gives the cake its chocolatey flavor and deep color.
- 1 ½ teaspoons baking powder
For that additional lift.
- 1 ½ teaspoons baking soda
It helps the cake batter to rise and increases volume.
- 1 teaspoon salt
Balances the sweetness and enhances the chocolate flavor.
- 2 cups white sugar
To sweeten the deal.
The Wet Mix
- 2 large eggs
A binding agent vital for texture and moisture.
- 1 cup milk
Keeps the cake tender.
- ½ cup vegetable oil
A substitute for butter that adds moistness and lightness to the crumb.
- 2 teaspoons vanilla extract
For the quintessential baked goods’ aroma and taste.
- 1 cup boiling water
An unspoken hero, intensifying the chocolate flavor without thinning the batter too much.
Gathering Your Equipment
Gathering the right tools is key to a smooth baking session. Here’s what you’ll need to pull off this chocolate cake masterpiece:
- 2 9-inch round cake pans
Light, non-stick pans work best.
- Mixing bowls
A large one for the dry ingredients and another for the wet ones.
- Whisk
A basic tool to combine dry ingredients evenly without lumps.
- Electric Mixer
For efficiency in combining the wet ingredients.
Baking The Best Chocolate Cake
Now, it’s time to blend all these ingredients together, with the right technique and sequence.
Step 1: Prepare and Preheat
- Preheat Your Oven
Set it to 350°F (175°C).
- Prep the Pans
Grease and lightly flour the pans to prevent sticking.
Step 2: Mixing Magic
- Whisk the Dry Ingredients
In a bowl, whisk together the flour, cocoa powder, baking powder, baking soda, salt, and sugar until fully blended.
- Prepare Your Batter
In another bowl, mix the wet ingredients (eggs, milk, oil, and vanilla) with an electric mixer on medium speed for about 2 minutes or until smooth.
- Add the Boiling Water
Slowly stir in the boiling water by hand, reflecting carefully on your life choices and how they led you to this moment.
- Blend It All Together
Combine the wet and dry mixtures, mixing until fully incorporated. Be sure not to over-mix, though. Too much love is not always a good thing.
Step 3: Fill and Bake
- Portion Out The Batter
Divide the batter evenly between the prepared pans. A kitchen scale can help you finalize this perfectly, or just eyeball it if you’re feeling bold.
- Pop it in the Oven
Place the pans into the oven and bake for 30-35 minutes or until a toothpick inserted into the center comes out clean. Remember, your oven is like a fingerprint—no two are the same. Keep an eye on it as you approach the minimum time to avoid overbaking.
Step 4: Cool and Frost
- Cool the Cakes
Allow the cakes to cool in their pans for 10 minutes. This is a reasonable time for introspection, to ponder the meaning of life, and to ensure that your cake is baking cohesively.
- Frost or Decorate
Remove the cakes from the pans, place on a wire rack, and frost after they’ve cooled completely. You can use a simple chocolate frosting or get creative with your own topping.

The Art of Baking
Tips for Cake Crafting
- Room Temperature Ingredients
For the best integration, have your wet ingredients at room temperature. It prevents the batter from separating and the cake from being as cold as an IRS audit.
- Mix Just Enough
Over-mixing toughens the cake, so once it’s all combined, stop. It’s harder than it sounds, but we believe in you.
- Be Patient, Don’t Peek Too Soon
If you check the cake before it’s had a chance to properly set, you can cause it to fall. Just like that soufflé you keep saying you’ll try but never get around to.
Flavoring Up and Out
Variations to Suit Your Stomach
- Buttermilk Edition
For a tangy twist, use buttermilk instead of regular milk. It’ll add a subtle richness that pairs wonderfully with chocolate.
- Choco-Chip Infusion
Fold in a handful of chocolate chips before you divide the batter between the pans for delightful little pockets of molten chocolate surprise.
Serving and Storing Your Creation
Savor and Save
- Serving Sizes
This recipe yields about 12 servings, but in chocolate terms, that’s about 2.36, right? Enjoy heroically-sized portions, or share if you must.
- Storage and Freezing
Store the cake at room temperature for 2-3 days or in the fridge for up to a week. Freeze slices (or the whole cake, if you have to) for up to three months.

Conclusion
With this detailed guide, you’re all set to bake the best chocolate cake that can captivate any crowd. Don’t just read it—bake it, savor it, and share it. This cake is not just a recipe; it’s an ode to chocolate and all the moments made sweeter because of it. Thank you for choosing this guide, and happy baking!
Frequently Asked Questions (FAQs)
Can I make this cake gluten-free?
Yes, you can substitute the all-purpose flour with a gluten-free flour blend. Be sure to choose a blend that is meant for baking and includes xanthan gum, which helps to substitute the gluten’s texture and elasticity.
What if I don’t have unsweetened cocoa powder?
You can use Dutch-processed cocoa powder as an alternative. It will give the cake a smoother, more mellow chocolate flavor. However, because Dutch-processed cocoa is less acidic than natural unsweetened cocoa, it may affect the rise slightly.
Can I substitute the vegetable oil?
Absolutely! You can use an equal amount of melted coconut oil, canola oil, or even melted butter for a richer flavor. Keep in mind that using butter will slightly alter the texture, making it a bit denser.
How do I know if the cake is fully baked?
The toothpick test is your best bet. Insert a toothpick into the center of the cake; if it comes out clean or with a few moist crumbs attached, the cake is done. If it’s wet with batter, give it a few more minutes in the oven.
Can this cake be made in advance?
Definitely. The cake layers can be baked, cooled, and then wrapped in plastic wrap to be stored in the refrigerator for up to 3 days before frosting and serving. You can also freeze the layers for up to 3 months; just be sure to thaw them overnight in the fridge before decorating.
How can I make the frosting for this cake?
A simple chocolate buttercream frosting can be made by beating together 1 cup (2 sticks) of softened unsalted butter with 3-4 cups of powdered sugar, ¾ cup of cocoa powder, 2-3 tablespoons of milk or heavy cream, and 2 teaspoons of vanilla extract. Adjust the milk and powdered sugar to reach your desired consistency and sweetness.


