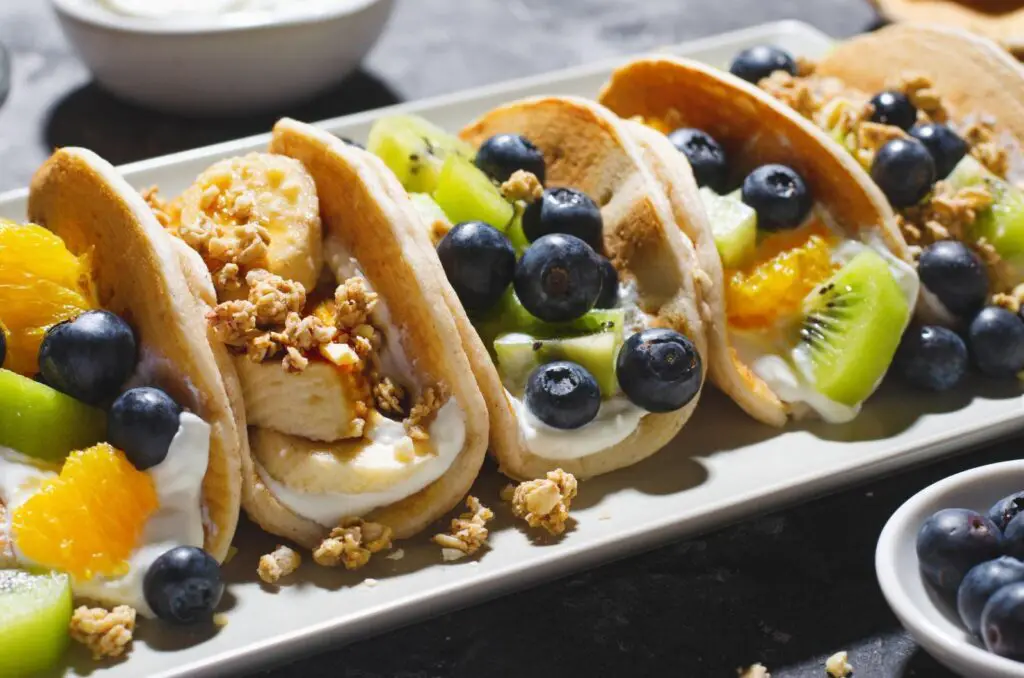
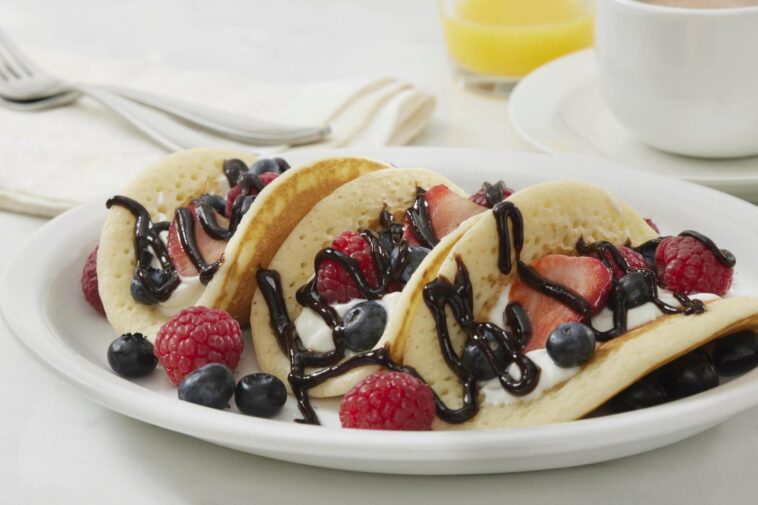
Craving cheesecake but looking for something a little more playful? Look no further than these delightful Blueberry Cheesecake Tacos! This recipe combines the creamy richness of cheesecake with the satisfying crunch of a taco shell, all topped with a burst of fresh blueberries. It’s the perfect way to elevate a classic dessert into a fun and interactive experience, great for parties, potlucks, or a unique weeknight treat.
The best part? This recipe comes together surprisingly easily. No baking a whole cheesecake here! With just a few simple steps, you’ll be creating restaurant-worthy dessert tacos in no time.
So, ditch the fork and grab a shell – it’s time to taco ’bout a delicious twist on cheesecake!

Ingredients (Let’s Gather What We Need)
The beauty of this recipe lies in its simplicity. Here’s a breakdown of everything you’ll need:
| Ingredient | Quantity |
|---|---|
| For the Taco Shells: | |
| Flour tortillas | 6 large |
| Vegetable oil | For frying |
| Light brown sugar | ½ cup |
| Ground cinnamon | 3 teaspoons |
| For the Cheesecake Filling: | |
| Cream cheese, softened | 8 ounces |
| Powdered sugar | ⅓ cup |
| Heavy whipping cream | 1 cup |
| Vanilla extract | 1 teaspoon |
| Lemon juice | 1 teaspoon (optional) |
| For the Blueberry Topping: | |
| Fresh blueberries | 2 cups |
| Granulated sugar | ¼ cup |
| Water | 7 tablespoons |
| Lemon juice | 1 tablespoon |
| Lemon zest (optional) | ½ teaspoon |
| Cornstarch | 2 tablespoons |
drive_spreadsheetExport to Sheets
Ingredient Substitutions:
- Feel free to use low-fat cream cheese for a lighter filling.
- Can’t find fresh blueberries? Use frozen blueberries instead (thaw and drain excess liquid before using).
- Don’t have heavy whipping cream? You can substitute whipped topping, but the filling might be slightly less stable.
- For a gluten-free option, use your favorite gluten-free tortillas.
Instructions (Let’s Make Some Magic!)
Now that you have all your ingredients prepped, let’s get started on creating these delightful tacos!
1. Prepare the Taco Shells:
- Heat enough vegetable oil in a large skillet or pot over medium heat to fry the tortillas.
- In a separate bowl, combine the brown sugar and cinnamon.
- Working one at a time, dip each tortilla into the hot oil for a few seconds, just enough to soften slightly.
- Immediately remove the tortilla from the oil and dredge it in the cinnamon sugar mixture, coating both sides evenly.
- Carefully fold the coated tortilla in half, creating a taco shell shape. You can use a spoon or a pair of tongs to gently hold the fold in place while the shell cools and crisps.
- Repeat with all the tortillas.
- Pro-Tip: If you find the shells aren’t holding their shape well, you can use a clothespin to secure the fold while they cool completely.
2. Whip Up the Creamy Filling:
- In a large mixing bowl, using an electric mixer with cream cheese attachments, beat the softened cream cheese until smooth and light.
- Gradually add the powdered sugar and continue beating until well incorporated and there are no lumps.
- Pour in the heavy whipping cream and vanilla extract, and beat again until the mixture is light and fluffy.
- If you prefer a slightly tangy filling, add a teaspoon of lemon juice at this stage.
- Tip: Make sure your cream cheese is truly softened at room temperature. Cold cream cheese will make it difficult to achieve a smooth and creamy filling.
3. Create the Blueberry Sauce:
- In a saucepan over low-medium heat, combine the blueberries, granulated sugar, water, lemon juice (and zest, if using), and cornstarch.
- Gently simmer the mixture for 5-7 minutes, stirring occasionally, until the blueberries soften and release their juices. The cornstarch will help thicken the sauce slightly.
- Remove from heat and let the sauce cool slightly before assembling the tacos.
4. Assemble and Enjoy!
- Once all the components are ready, it’s time to assemble your delicious creations!
- Fill each crispy taco shell with a generous dollop of the creamy cheesecake filling.
- Top it off with a spoonful of the blueberry sauce, letting the sauce drizzle down the sides for a tempting presentation.
- You can enjoy these tacos as is, or add a dollop of whipped cream and a fresh sprig of mint for an extra touch of elegance.
Now comes the best part – devouring these delightful treats!
These Blueberry Cheesecake Tacos are best enjoyed fresh, so assemble them right before serving. The fried taco shells will stay crispy for a while, but the longer they sit, they might soften slightly.
Here are some additional tips and tricks to elevate your taco experience:
- Temperature Matters: Make sure your taco shells are cool to the touch before filling them. Hot shells will melt the cheesecake filling too quickly.
- Portion Control: These tacos are rich and flavorful, so a smaller portion might be ideal. Consider making mini tacos using smaller tortillas for a delightful bite-sized dessert.
- Get Creative with Toppings: Don’t be afraid to experiment with different toppings! A drizzle of chocolate sauce, a sprinkle of chopped nuts, or a dollop of fruit coulis can add another layer of flavor and texture.
- Make it a Party Pleaser: This recipe is easily doubled or tripled to serve a crowd. Set up a taco bar with all the components laid out and let your guests assemble their own creations.
Storing Leftovers (if any!)
While these tacos are best enjoyed fresh, you can store any leftovers in an airtight container in the refrigerator for up to 2 days. The taco shells might soften further, but the flavors will still be delicious. To refresh the shells slightly, you can quickly reheat them in a toaster oven or a pan over low heat for a few seconds.
Embrace the Fun!
Blueberry Cheesecake Tacos are a delightful way to break away from the traditional cheesecake and create a fun and interactive dessert experience. It’s perfect for surprising your family and friends with a unique and delicious treat. So, grab your favorite people, get creative with the toppings, and enjoy the sweet and tangy goodness of these delightful dessert tacos!


